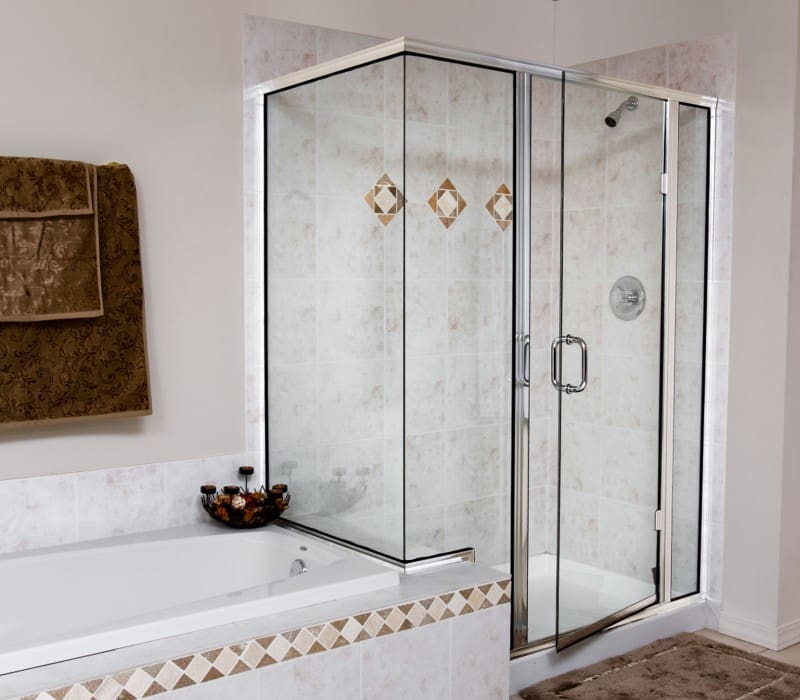
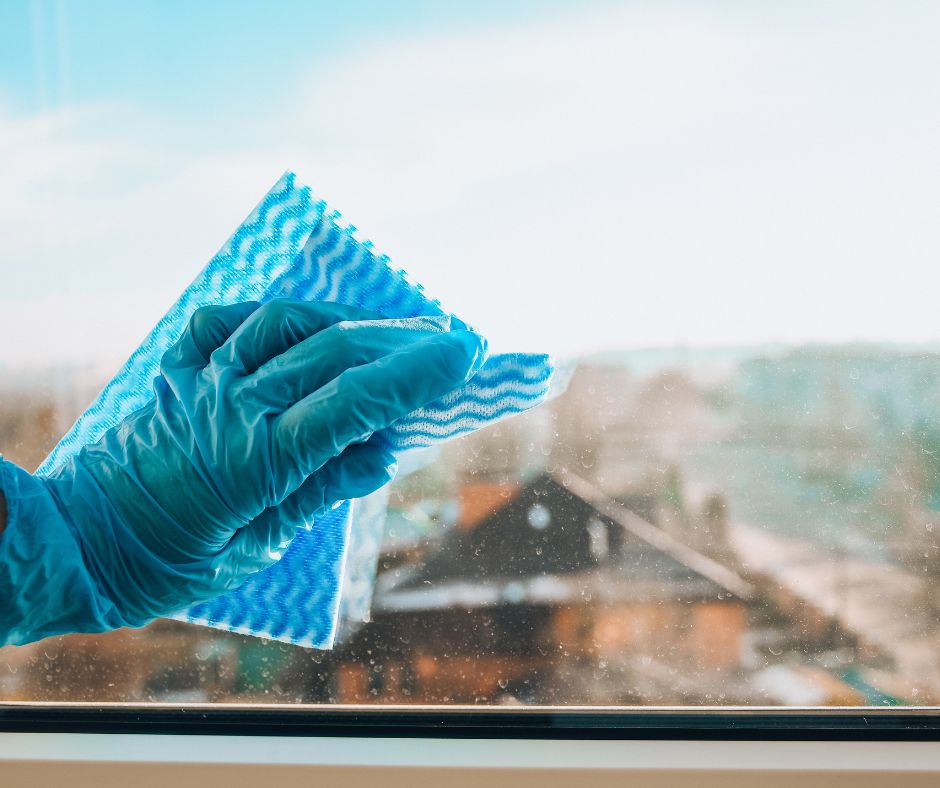
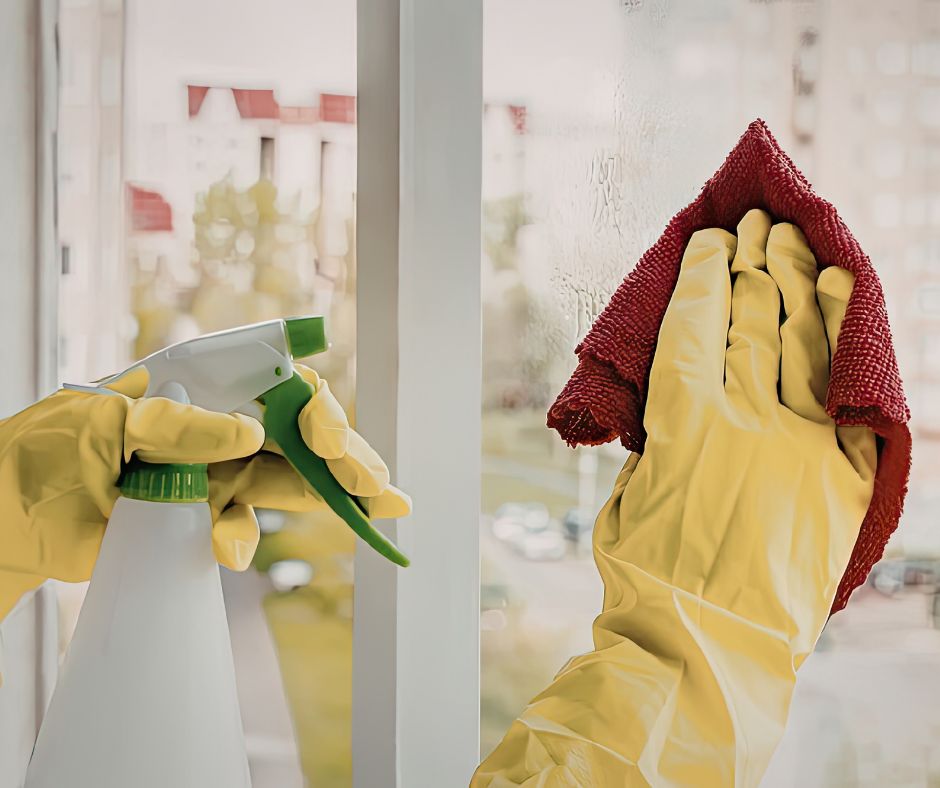
There are few household chores more disheartening than scrubbing a shower door, only to watch stubborn, cloudy spots reappear the moment the glass dries. It often feels like a failure of effort, yet standard blue spray cleaners are chemically unable to win this specific battle.
At Hagen Glass, we understand that achieving true clarity isn’t about scrubbing harder; it is about understanding the material itself. While a windowpane appears perfectly smooth to the naked eye, a microscope reveals that the surface is actually porous, featuring tiny craters similar to the surface of the moon.
These microscopic valleys trap water droplets, allowing the liquid to evaporate while leaving behind heavy calcium and magnesium mineral buildup. This is the same natural process that creates crusty residue inside an old tea kettle, where minerals anchor themselves so deeply into the surface texture that standard wiping cannot dislodge them.
Eliminating these hard water stains requires moving beyond simple soap and treating the deposits with the correct pH balance. With the right approach, you can dissolve these minerals and restore that invisible finish without risking permanent damage to your home.
Is it Dirty or Damaged? How to Identify Calcium and Magnesium Mineral Buildup on Your Windows
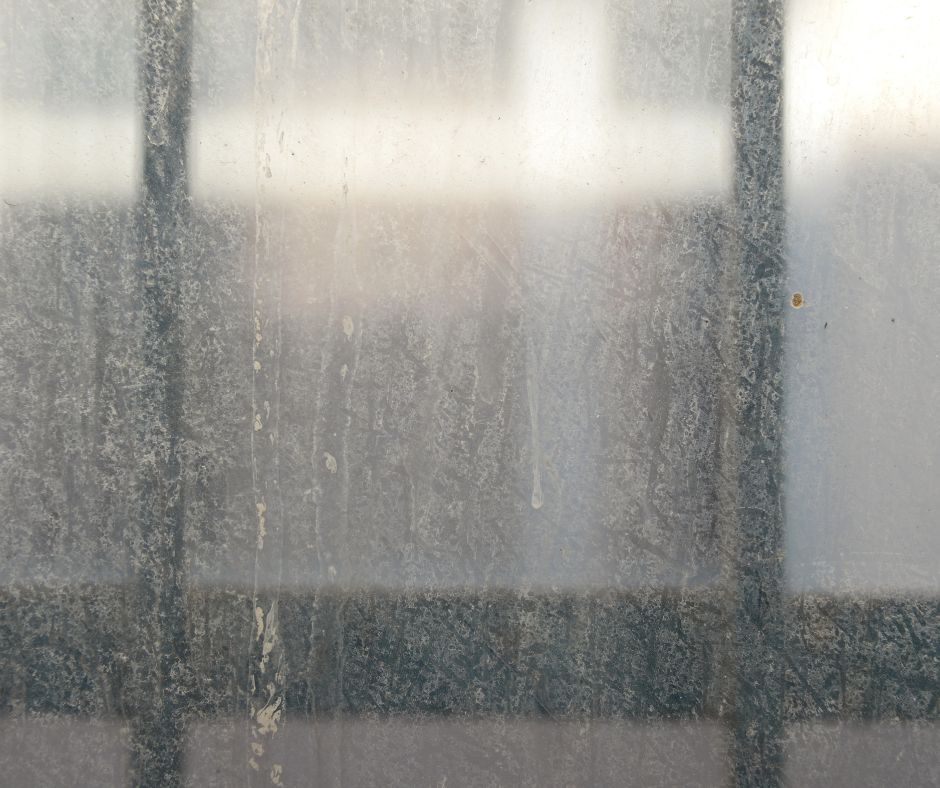
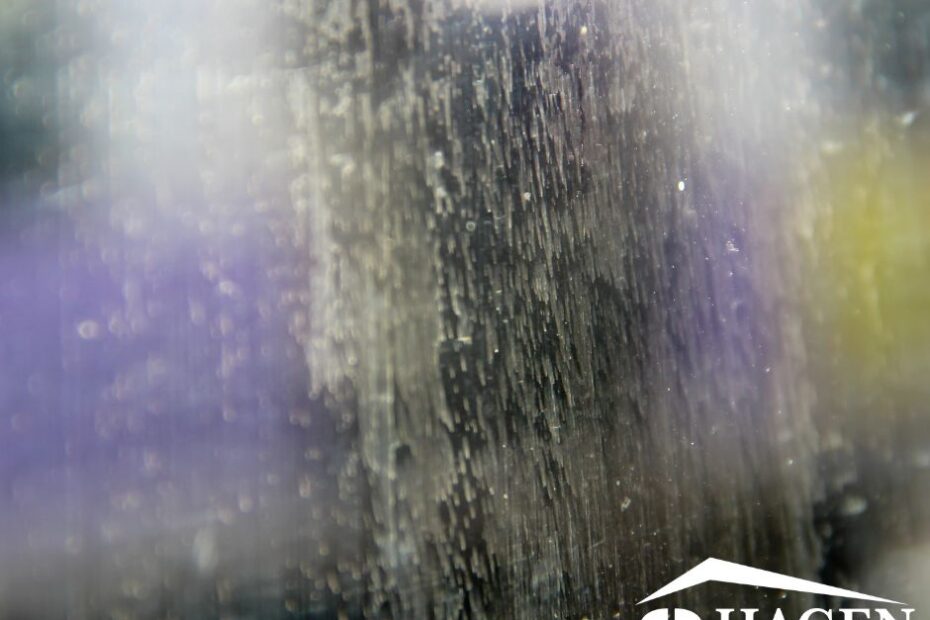
You might notice that your standard cleaning routine leaves behind a hazy, white outline even after scrubbing. This happens because evaporating water leaves behind dissolved solids (specifically calcium and magnesium mineral buildup) that don’t just sit on the surface.
Since we know glass is actually full of microscopic pores, these minerals anchor themselves into those tiny pits, creating a rough, stony texture that standard window cleaner cannot lift.
Determining the severity of this buildup is the first step toward restoring clarity. We recommend a simple three-step diagnostic to check the impact of dissolved minerals on window clarity:
- Visual Inspection: Look at the glass from a 45-degree angle to spot white, crusty rings that indicate established deposits.
- The Fingernail Test: Gently run your nail over the spot; if it catches or feels like sandpaper, the minerals have hardened onto the surface.
- The Mist Test: Breathe onto the clean glass or spray a fine mist; if the water pattern breaks or refuses to cover the spots, you are dealing with a chemical bond rather than surface dust.
Ignoring this roughness can lead to stage two glass corrosion, a condition where the deposits chemically bond to the glass and cause permanent cloudiness. If your windows failed the fingernail test, you need to move beyond standard soaps and introduce safe chemistry to your cleaning routine.
The DIY Acidic Solution: Using White Vinegar and Citric Acid to Dissolve Limescale Safely
Because those stubborn mineral deposits are alkaline by nature, attacking them with standard soaps is chemically ineffective. You need to change the pH balance on the glass surface by introducing an acid to dissolve the bonds. Think of an acidic solution like a liquid magnet that pulls the calcium and magnesium out of the glass pores, softening the hard crust so it can be rinsed away rather than scraped off.
For most light-to-moderate buildup, a simple 50/50 mixture of distilled water and standard white vinegar offers the best balance of safety and power compared to commercial descalers. While aggressive store-bought products often rely on harsh compounds that can damage window frames or seals, white vinegar provides a mild acetic acid that targets calcium without risking your home’s infrastructure.
To get professional-grade results from this pantry staple, heat the solution before applying it. Just as sugar dissolves faster in hot tea, warm acid molecules move rapidly to penetrate mineral structures deeply. Soaking a paper towel in the hot liquid and pressing it against the glass for several minutes ensures the acid stays active and wet long enough to finish the reaction.
If the smell of vinegar is too strong, a citric acid glass cleaning solution serves as an odorless, slightly more potent alternative. Mixing powdered citric acid with warm water creates a highly effective, eco-friendly hard water deposit removal tool for thicker crusts. However, if these liquid treatments still leave a hazy outline, the minerals may require the mechanical action of gentle abrasives.
Tackling Stubborn Cloudy Film: When to Use Baking Soda and Non-Abrasive Glass Cleaners
When liquid solutions soften the deposits but fail to lift them completely, you need to introduce mechanical action. Combining vinegar and baking soda creates a reaction that does double duty: the bubbling action loosens debris while the powder provides a gritty texture to scrub the surface. This approach bridges the gap between simply wetting the minerals and physically dislodging them.
Baking soda acts as a mild abrasive, essentially exfoliating your window without damaging the “skin” of the glass. Unlike harsh scouring pads that leave permanent scratches, baking soda is soft enough to break down mineral buildup while remaining one of the best non-abrasive glass cleaners for DIY projects. It creates a safe paste that polishes away the haze that vinegar alone might leave behind.
To apply this method effectively without making a mess:
- Mix three parts baking soda with one part water to form a thick, toothpaste-like consistency.
- Scoop the paste onto a damp microfiber cloth or soft sponge but never a rough scouring pad.
- Rub in small, tight circular motions, focusing on the edges where water tends to collect.
- Rinse thoroughly immediately after scrubbing to prevent the baking soda from drying into a new white film.
Exercising caution is critical, especially with shower doors, which often use tempered safety glass. This material is surprisingly vulnerable to deep scratches if you use razor blades or stiff brushes. Stick to safe cleaning tools for tempered glass, such as 0000 (four-zero) bronze wool or magic erasers, which are softer than the glass surface. If you find yourself needing more force than these tools provide, the problem likely originates from a continuous source outside the home.
Professional Secrets for Exterior Windows: Why Your Sprinklers Are Etching Your Glass Surfaces
While baking soda works well on shower doors, removing stubborn cloudy film from windows on your home’s exterior often presents a tougher challenge. The primary culprit is usually “The Sprinkler Effect,” where irrigation systems repeatedly spray mineral-heavy groundwater onto the glass. Unlike soft rainwater, tap and well water are loaded with dissolved solids like calcium and magnesium. When sprinklers hit the glass daily, you aren’t simply wetting the window; you are depositing layers of mineral buildup that grow thicker and harder every morning.
Sunlight turns this annoyance into permanent damage through a process called solar-accelerated bonding. As the sun beats down on wet glass, the water evaporates instantly, but the heat effectively bakes the remaining minerals into the window’s pores. This thermal reaction explains why hard water etches glass surfaces so much faster outdoors than in a temperature-controlled bathroom. Once the sun “cooks” these deposits, they chemically bond to the silica, creating a rough texture that standard cleaners can no longer penetrate or dissolve.
Fixing this requires addressing your landscaping before opening your cleaning bucket. No amount of hard water treatment will succeed if sprinklers continue to re-soak the glass immediately after you clean it. Adjusting spray heads to face away from the house is the only way to break the cycle of accumulation and heat-bonding. With the water source diverted, you can finally focus on long-term protection strategies that force moisture to slide off the glass before it dries.
How to Prevent Water Spots Forever: The Benefits of Hydrophobic Glass Coatings and Proper Squeegee Techniques
Now that the water source is managed, the goal shifts from removal to defense. Think of your glass like a car’s windshield; without wax, rain clings to it, but with a protective layer, droplets bead up and fly off. Because standard glass is naturally porous, it requires a sealant to fill those microscopic pits and prevent minerals from anchoring deep within the surface.
Applying a sealer creates a slick, invisible shield that fills the jagged pores of the glass. This barrier delivers significant hydrophobic glass coating benefits, turning the surface “water-fearing” so moisture slides down rather than evaporating in place. While factory-applied coatings like EnduroShield last for years, simple spray-on sealers from the hardware store can provide months of protection and make future cleaning significantly easier.
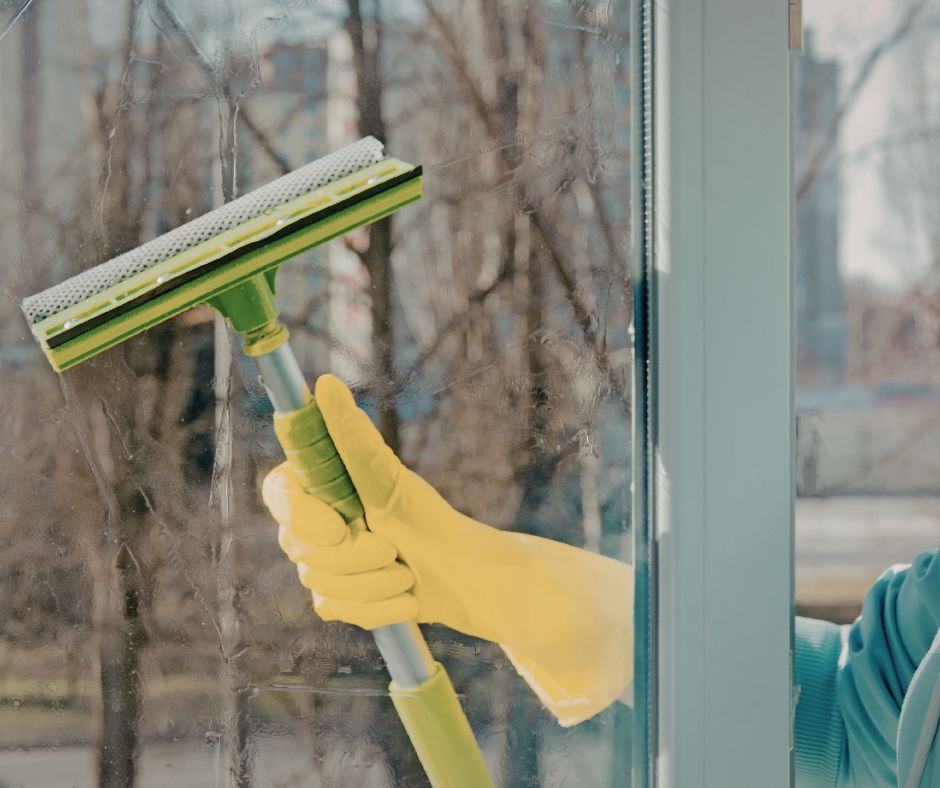
Even with a coating, physically removing water is the single most effective way to prevent water spots on shower doors. Keeping a tool in the shower takes thirty seconds per use but saves hours of scrubbing later, provided you master proper squeegee techniques:
- Work Top-to-Bottom: Let gravity help move the water down the pane.
- Overlap Your Strokes: Cover the edge of the previous pass by an inch to prevent leaving lines.
- Dry the Blade: Wipe the rubber blade with a towel between every stroke to avoid redepositing dirty water.
You can verify your protection level using the “Water Bead Test.” Splash water on the surface; if it creates tight, round marbles that roll away fast, your defense is active. However, if the water looks flat or “sheets” over the surface despite your best efforts, the glass may have already suffered permanent etching.
Beyond DIY: Identifying Stage Two Glass Corrosion and Knowing When to Call a Professional
Deciding between restoration and full replacement ultimately depends on the severity of the damage and the type of window installed. Hagen Glass technicians can assess whether the glass is structurally sound enough for aggressive resurfacing or if the etching is too deep to salvage safely. Generally, if you can catch your fingernail in the pits, the window has likely passed the point of no return. Understanding these limits prevents you from wasting money on miracle products that cannot fix physical damage, allowing you to focus your budget on a permanent solution that finally clears the view.
Your Clear-Glass Action Plan: Maintaining Crystal Clarity for Years to Come

You no longer need to rely on endless scrubbing to achieve invisible glass. Effective glass cleaning is a matter of chemistry, not muscle. By swapping standard sprays for acidic solutions that dissolve hard water stains, you can restore clarity without damaging the surface.
Preserve your results with this simple Hagen Glass Maintenance Checklist:
- Weekly: Squeegee after use to stop minerals from settling.
- Monthly: Apply a vinegar solution to dissolve light buildup.
- Bi-annual: Apply a hydrophobic coating to seal the glass pores.
Remember, if the surface feels rough and remains cloudy after treatment, the glass may be permanently etched. Whether you manage the maintenance yourself or call Hagen Glass for professional restoration, clear views are finally within reach.